Free Winter Woodland Creature Crochet Coasters Easy Guide
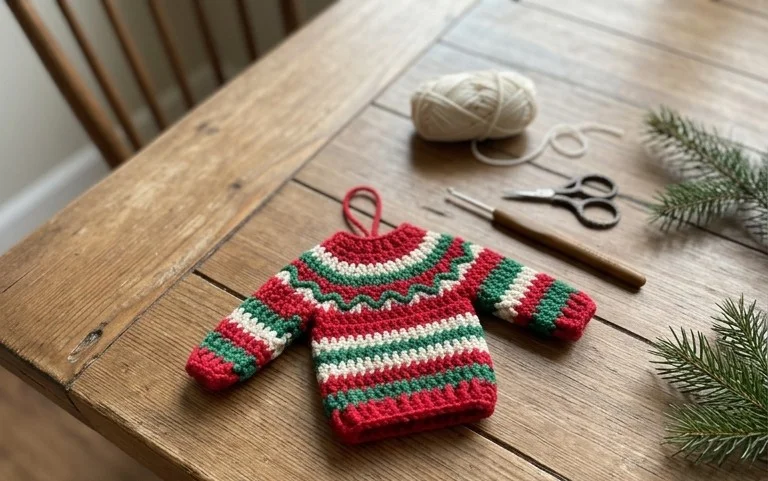
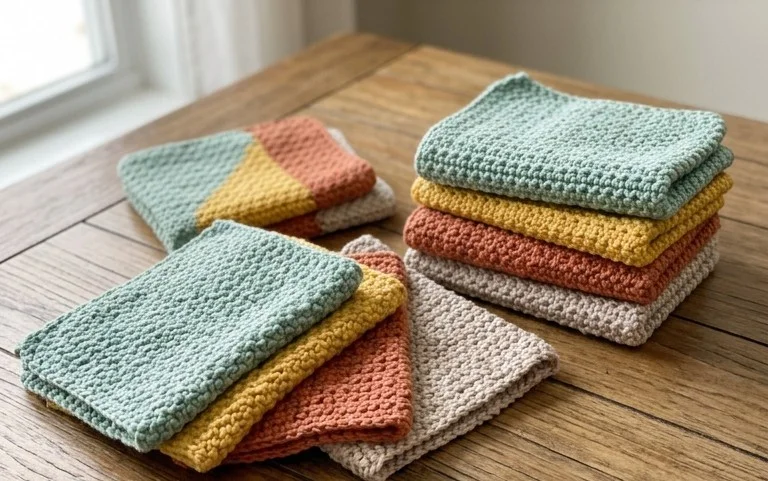
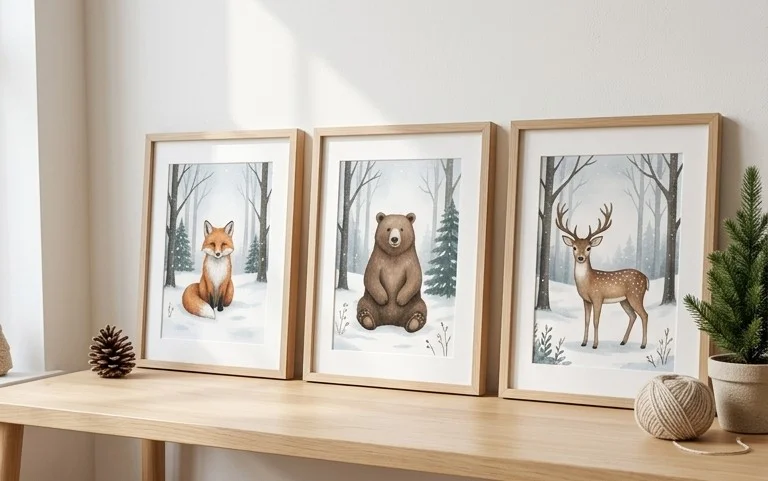
These soft coasters bring a touch of the forest to your coffee table, featuring woodland animals that look grounded and rustic. Each coaster feels firm beneath a mug, constructed from dense cotton stitches that hold their shape through many uses. Beginners appreciate how quickly these work up because the round design relies on simple increases that become second nature after the first few minutes. You gain practice with tension control while creating something practical for your home or as a thoughtful gift for a friend. By printing the provided creature faces, you finish each piece with a professional look that hides yarn ends and adds character to your desk or kitchen workspace.
Why You’ll Love This Pattern
This beginner-friendly crochet coaster pattern uses a simple, repetitive stitch pattern that makes it ideal for practicing tension control. You can complete a single coaster in under thirty minutes, which makes this an efficient project for using up leftover bits of cotton yarn from larger tasks. The resulting fabric is dense enough to protect wooden surfaces from moisture, yet flexible enough to lie perfectly flat on your table. Because the pattern relies on basic increases, it is easy to memorize after the first few rounds.
I finished a full set of four coasters in one afternoon using yarn I already had in my stash. The stitches are tight enough that they do not let water seep through to the table surface.
— Sarah, casual crafter
Pattern Overview & Skill Level
- Skill Level: Beginner
- Approximate Time: 20–30 minutes per coaster
- Construction: Worked in joined rounds, starting from the center and expanding outward
- Finished Dimensions: 4 inches in diameter
Materials & Supplies Needed
- Yarn: Worsted weight (#4) 100% cotton yarn, approximately 15 yards per coaster. Cotton is necessary for heat resistance and absorbency.
- Hook Size: 5.0 mm (H-8) crochet hook.
- Notions: Tapestry needle for weaving in ends, a pair of sharp scissors, and a measuring tape.
- Safe yarn substitutions: You may use acrylic yarn, but note that it will be less absorbent and may melt if placed under very hot mugs. Wool yarn is a suitable alternative if you prefer a natural fiber, but it may felt over time if washed frequently.
Stitch Guide & Abbreviations (US Terms)
- ch: chain
- st: stitch
- sl st: slip stitch
- sc: single crochet
- inc: 2 sc in the same stitch
- MR: magic ring
Step-by-Step Pattern Instructions
Coaster Body
- Rnd 1: Start with a MR. Work 6 sc into the ring. Join with a sl st to the first sc. (6 sts)
- Rnd 2: Ch 1. Work 2 sc in each st around. Join with a sl st to the first sc. (12 sts)
- Rnd 3: Ch 1. *1 sc in the next st, 2 sc in the next st. Repeat from * 6 times. Join with a sl st. (18 sts)
- Rnd 4: Ch 1. *1 sc in each of the next 2 sts, 2 sc in the next st. Repeat from * 6 times. Join with a sl st. (24 sts)
- Rnd 5: Ch 1. *1 sc in each of the next 3 sts, 2 sc in the next st. Repeat from * 6 times. Join with a sl st. (30 sts)
- Rnd 6: Ch 1. *1 sc in each of the next 4 sts, 2 sc in the next st. Repeat from * 6 times. Join with a sl st. (36 sts)
Finishing
Fasten off your yarn, leaving a 6-inch tail. Use your tapestry needle to weave the tail through the back loops of the final round to secure it. Trim any excess yarn close to the fabric, being careful not to cut into the stitches themselves.
Care & Washing Instructions
- Machine wash your cotton coasters on a gentle cycle in cold water.
- Lay the coasters flat on a clean towel to dry to prevent them from stretching out of shape.
- If the coasters become slightly misshapen, lightly dampen them and press them flat with a cool iron to restore their circular form.
Pro Tips & Common Mistakes to Avoid
Maintaining consistent tension is the most important factor in keeping your coaster flat; if you notice the edges starting to ruffle, you are likely working your stitches too loosely or increasing too frequently. Place a stitch marker in the first stitch of every round to keep track of your starting point, as it is easy to lose count when working in a continuous spiral or joined rounds. Weave your ends in multiple directions—horizontally and then vertically—to ensure they remain buried and do not unravel during the wash. If you decide to make a larger coaster by adding more rounds, simply continue the increase pattern of 1 sc in each of the next X stitches, 2 sc in the next st for each subsequent row, which adds 6 stitches per round.
Frequently Asked Questions
Can I use a different yarn weight for this pattern?
You can use a lighter weight yarn, such as DK or sport weight, but your finished coaster will be significantly smaller. If you use a thicker yarn, your coaster will be larger, though you will need to adjust your hook size to ensure the fabric remains tight enough to be functional.
How can I make the coaster larger?
To increase the size, continue working additional rounds following the established increase pattern. Each new round should have 6 more stitches than the previous one to keep the circle flat.
Are these coasters suitable for gifts?
These make excellent gifts because they are functional and quick to produce. They are particularly popular for housewarming parties when tied together in a set of four with a simple ribbon.
Can I sell the coasters I make using this pattern?
You are welcome to sell finished items made from this pattern, provided you credit the designer. Please use your own photographs rather than copying images from this tutorial.
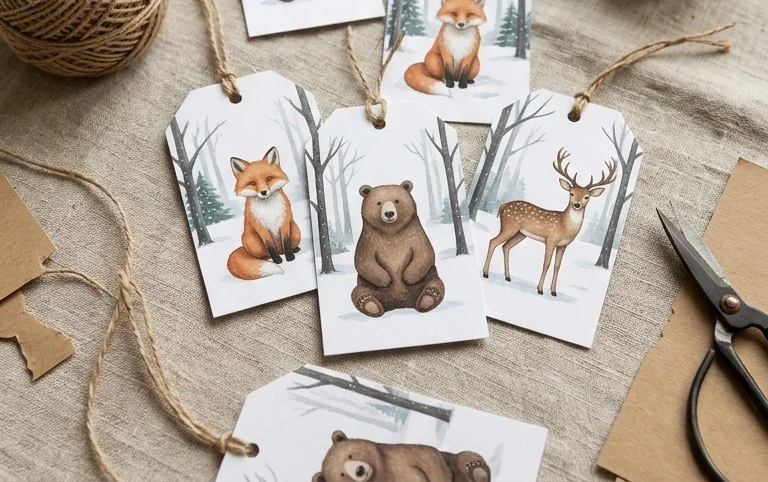
These animal motifs transform a simple morning coffee into a cozy moment during the colder months. You might consider using a variegated yarn for the base to give the creatures a heathered, natural appearance or sizing up your hook for a larger trivet. Please post a photo of your finished work online so others can see how your woodland collection turned out. You are welcome to browse the rest of the blog for more accessible projects using basic stitches and cotton yarn scraps.