Easy Crochet Granny Square Pattern: Stash-Buster Guide
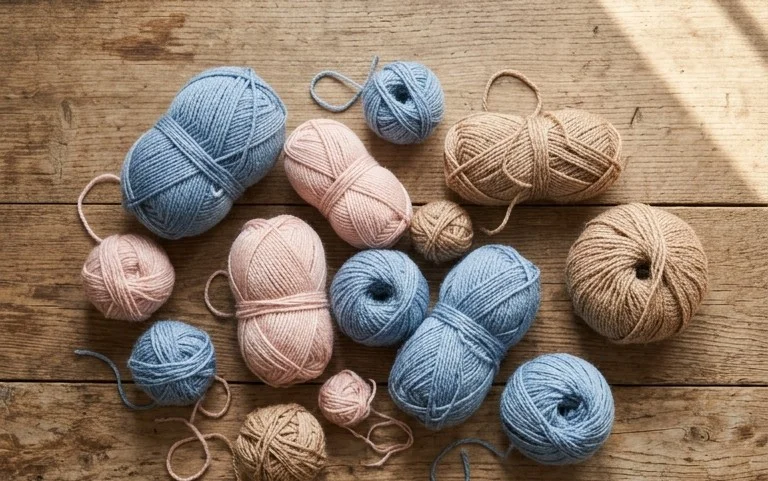
Soft wool scraps pile up in baskets until they become a disorganized mountain of colorful potential, waiting for a simple way to return to utility. This classic granny square motif creates a dense, warm fabric that handles daily wear with ease, making it a reliable choice for beginners who want a low-pressure project. You will master the rhythm of joining yarn to form a consistent cluster, turning small leftovers into a cohesive and functional piece. This process offers a meditative outlet during quiet evenings at home, transforming forgotten balls of fiber into something entirely new and practical.
Why You’ll Love This Pattern
The Classic Crochet Granny Square is the quintessential building block for fiber artists because it balances simplicity with endless potential. You can use this pattern to construct anything from lightweight summer tops to heavy winter blankets by simply joining individual motifs. It is an ideal project for practicing tension, as the rhythm of the double crochet clusters quickly becomes meditative and predictable. Since each square takes roughly twenty minutes to complete, it functions as a highly portable project that fits easily into a small bag for stitching on the go. Beginners appreciate how it introduces the concept of working into chain spaces rather than individual stitches, which makes the subsequent rounds feel faster and more fluid.
I managed to finish a whole stash-busting blanket using this pattern in just two weekends, and the squares came out perfectly square every single time.
— Sarah, hobbyist crafter
Pattern Overview & Skill Level
- Skill Level: Beginner
- Approximate Time: 20 minutes per square
- Construction: Worked in rounds starting from a center ring, creating a traditional square motif
- Finished Dimensions: Approximately 5 inches by 5 inches using medium weight yarn
Materials & Supplies Needed
- Yarn: Worsted weight (#4), 100% acrylic or wool blend, approximately 15 yards per square
- Hook Size: 5.0 mm / H-8
- Notions: Tapestry needle for weaving in ends, scissors, and a measuring tape
- Safe yarn substitutions: Cotton yarn works well but will result in a slightly stiffer, heavier square; DK weight yarn can be used with a 4.0 mm hook for a smaller, more delicate motif
Stitch Guide & Abbreviations (US Terms)
- ch: chain
- st/sts: stitch/stitches
- sl st: slip stitch
- dc: double crochet
- sp: space (the gap created by previous chains)
- cluster: 3 dc worked into the same space
- magic ring: a technique to start rounds by crocheting over an adjustable loop
Step-by-Step Pattern Instructions
This pattern is worked in joined rounds. You will chain 3 at the start of each round to count as the first stitch, and close each round with a slip stitch to the top of the initial chain.
Rnd 1: Start with a magic ring. Ch 3 (counts as first dc here and throughout), 2 dc into the ring, ch 2, *3 dc into ring, ch 2; repeat from * twice more. Sl st to top of beg ch-3. (12 sts, 4 ch-2 spaces)
Rnd 2: Sl st into the next 2 sts and into the first ch-2 space. Ch 3, 2 dc, ch 2, 3 dc all in same ch-2 sp. *Ch 1, skip 3 sts, (3 dc, ch 2, 3 dc) in next ch-2 sp; repeat from * twice more, ch 1. Sl st to top of beg ch-3. (24 sts, 4 ch-2 spaces, 4 ch-1 spaces)
Rnd 3: Sl st into next 2 sts and into first ch-2 sp. Ch 3, 2 dc, ch 2, 3 dc in same ch-2 sp. *Ch 1, 3 dc in next ch-1 sp, ch 1, (3 dc, ch 2, 3 dc) in next ch-2 sp; repeat from * twice more, ch 1, 3 dc in next ch-1 sp, ch 1. Sl st to top of beg ch-3. (36 sts, 4 ch-2 spaces, 8 ch-1 spaces)
Rnd 4: Sl st into next 2 sts and into first ch-2 sp. Ch 3, 2 dc, ch 2, 3 dc in same ch-2 sp. *Ch 1, (3 dc in next ch-1 sp, ch 1) across side to corner, (3 dc, ch 2, 3 dc) in next ch-2 corner sp; repeat from * twice more, ch 1, 3 dc in remaining ch-1 spaces to end, ch 1. Sl st to top of beg ch-3. (48 sts, 4 ch-2 spaces, 12 ch-1 spaces)
Finishing
Fasten off the yarn, leaving a 6-inch tail. Use your tapestry needle to weave the yarn tail through the back of the stitches, ensuring the square stays secure. Block the square by pinning it to a foam mat and lightly steaming it to sharpen the corners and even out the tension.
Care & Washing Instructions
- Machine wash on a gentle cycle in cool water (max 30C) using a mild detergent.
- Lay the square flat on a clean towel away from direct sunlight to air dry.
- If the square curls, dampen it slightly and re-block by pinning it into a perfect square shape while it dries.
Pro Tips & Common Mistakes to Avoid
- Consistent Tension: Keep your yarn tension relaxed; if you pull too tight, the square will begin to cup or bowl instead of lying flat.
- Stitch Markers: Place a stitch marker in the first chain of your starting ch-3 so you can easily identify the join point at the end of each round.
- Invisible Ends: Weave your ends in multiple directions through the back of the double crochet posts to prevent them from slipping out over time.
- Size Adjustment: To make the square larger, simply continue repeating Round 4, adding an extra cluster into every new chain-1 space created along the sides of the square.
Frequently Asked Questions
Can I use a different hook size for this square?
Yes, you can use a smaller hook for a denser fabric or a larger hook for a lacy, open texture. Changing the hook size will change the final dimensions of your finished project.
Is this pattern suitable for someone who has never held a crochet hook?
This pattern is excellent for beginners, but you should familiarize yourself with the basic double crochet stitch and how to make a slip stitch before starting your first square.
How do I join these squares together to make a blanket?
You can join them using a whip stitch with a yarn needle or by working a slip stitch join through the back loops of the outer edges of two adjacent squares.
Am I allowed to sell blankets made from this pattern?
Yes, you are welcome to sell finished items you create with this pattern. Please provide credit to this website as the source of the design when listing your products online.
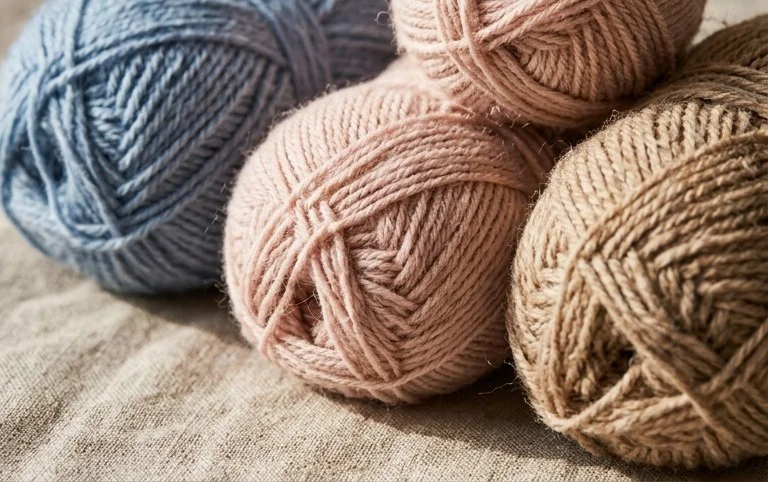
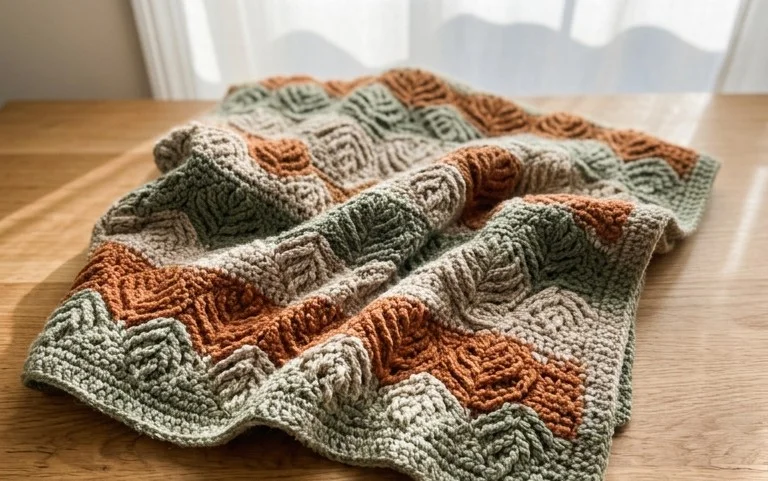
Your finished blanket serves as a unique record of every small project you have tackled over the last few years. You can experiment with using two strands of lace weight yarn held together to create a marled effect that adds depth to the design. Share a photograph of your finished work on social media so others can see how you combined those leftover bits of color. Visit the rest of our blog to find more patterns that help you clear out those lingering drawers filled with stray yarn skeins.