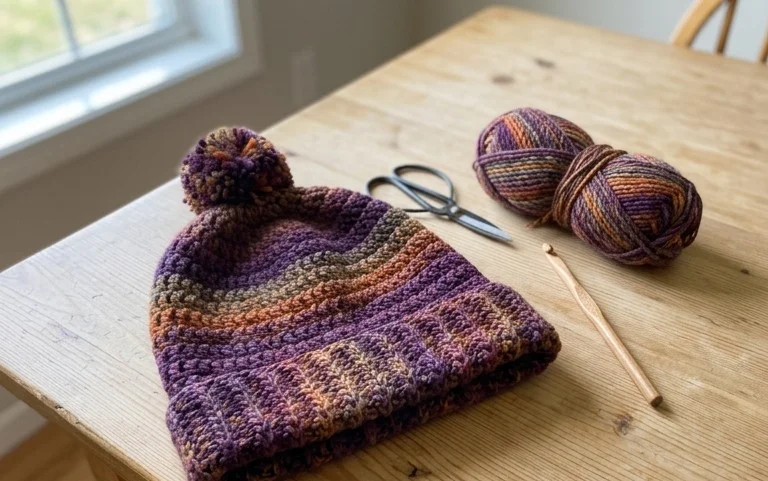
Easy Striped Beanie: Free Beginner Crochet Pattern
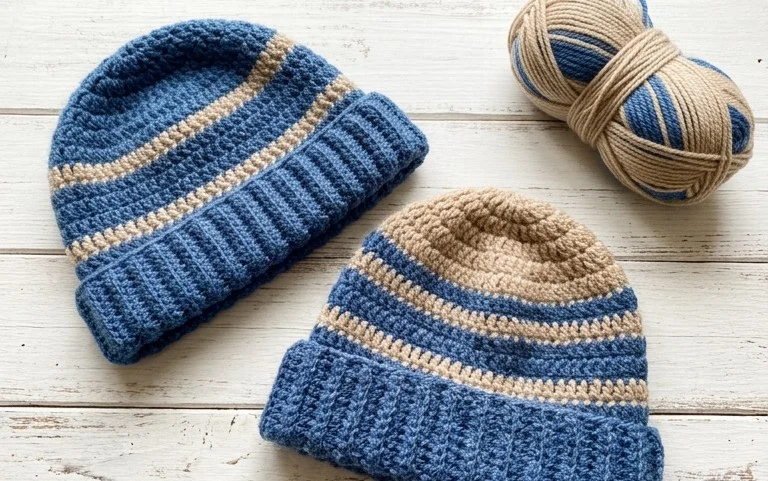
This ribbed beanie feels soft against the skin and offers a clean, professional finish that hides the fact that it only takes a few hours to complete. You will notice the fabric has a dense, squishy quality that blocks wind effectively, making it a reliable choice for cold winter walks or drafty mornings. The rhythmic motion of working in the back loop creates a consistent ridge pattern that mimics high-end machine-knit hats. Whether you need a quick gift for a friend or a practical staple for your own wardrobe, this project is manageable for anyone comfortable with basic turning chains and single crochet stitches. You will learn how to create a flat rectangle that transforms into a rounded cap using a simple seaming technique, ensuring a professional look without any complex shaping or complicated decreases to track.
Why You’ll Love This Pattern
This crochet ribbed beanie pattern uses a simple construction method that mimics a professional knit-look brim, making it ideal for those who love the texture of knitwear but prefer the speed of a crochet hook. The design relies on working in the back loop only, which creates a natural, stretchy fabric that hugs the head comfortably without losing its shape over time. Because it works from the bottom up in a single rectangle that is later seamed, you can easily adjust the height to fit children or adults simply by changing the starting chain length. It serves as an excellent stash-buster project since you only need one skein of standard medium-weight yarn to complete a full-sized adult hat in a single evening.
I finished this hat in just two hours and the ribbing looks exactly like a store-bought piece. The instructions were very easy to follow and the fit is perfect for my head size.
— Sarah, hobbyist crocheter
Pattern Overview & Skill Level
- Skill Level: Beginner
- Approximate Time: 2–3 hours
- Construction: Flat rectangular panel worked in rows, folded, seamed along the side, and gathered at the top.
- Finished Dimensions & Sizing: 18 inches circumference (stretches to 22 inches) and 9 inches height for an adult medium.
Materials & Supplies Needed
- Yarn: Worsted weight #4, 100% acrylic or wool blend, approximately 200 yards. Solid colors show the ribbing texture best.
- Hook Size: 5.5 mm (US I-9).
- Notions: Yarn needle with a large eye for seaming, scissors, and a measuring tape to ensure consistent row length.
- Safe yarn substitutions: You can use a DK weight yarn for a lighter feel, but increase your hook size to 6.0 mm and add more starting chains to reach the same height; using bulky weight yarn will require fewer chains and a larger 6.5 mm hook to maintain the drape.
Stitch Guide & Abbreviations (US Terms)
- ch: Chain stitch
- st/sts: Stitch/stitches
- sl st: Slip stitch
- BLO: Back loop only. Insert your hook only under the back strand of the V-shaped stitch from the previous row. This creates the signature ribbed texture.
- RS: Right side
Step-by-Step Pattern Instructions
Hat Body
- Row 1: Ch 35. Starting in the second chain from the hook, work 1 sl st in each ch across. Turn. (34 sts)
- Row 2: Ch 1, working in BLO, sl st in each st across. Turn. (34 sts)
- Row 3–60: Repeat Row 2 until your piece measures approximately 18 inches unstretched when laid flat.
Assembly and Finishing
- Fasten off, leaving a 12-inch tail of yarn for sewing.
- Fold the rectangle in half so the short ends meet.
- Using your tapestry needle, sew the two short ends together using a whip stitch or mattress stitch.
- Once joined, weave the yarn tail through the edge of the top opening, pulling it tight to cinch the hat shut.
- Secure the top with a knot and weave in your ends on the inside of the hat.
Care & Washing Instructions
- Hand wash in cool water using a mild wool-safe detergent to preserve the elasticity of the stitches.
- Do not wring out the hat; instead, roll it in a clean towel to remove excess moisture.
- Lay the hat flat on a dry towel to air dry, ensuring it is reshaped into a circle so it does not dry out of proportion.
Pro Tips & Common Mistakes to Avoid
Maintain consistent tension when working your slip stitches, as tight stitches can make the fabric feel stiff and lose its stretch. Use a stitch marker at the beginning of every row to ensure you do not accidentally drop the final stitch of the row, which causes the edges to become uneven. When seaming, use the yarn tail from the beginning of your foundation chain to close the side and the tail from the end to close the top, which reduces the number of ends you need to weave in. If you find the hat is too small during construction, add more chains to the foundation row, keeping in mind that each additional 10 chains add approximately 3 inches of height.
Frequently Asked Questions
Can I use cotton yarn for this project?
Cotton yarn is much less elastic than acrylic or wool, which means your hat will not stretch to fit your head comfortably. Stick to wool, acrylic, or nylon blends for the best results.
Is this pattern suitable for complete beginners?
Yes, this project uses only the slip stitch, which is a foundational technique. The repetitive nature of the rows helps you develop a consistent rhythm and tension.
How do I adjust the size for a child?
Simply reduce the number of starting chains until you reach your desired height and work fewer total rows until the circumference matches the child’s head measurement.
Am I allowed to sell hats made from this pattern?
You are welcome to sell any finished items you create using this design. Please provide credit to the designer whenever you list them for sale.
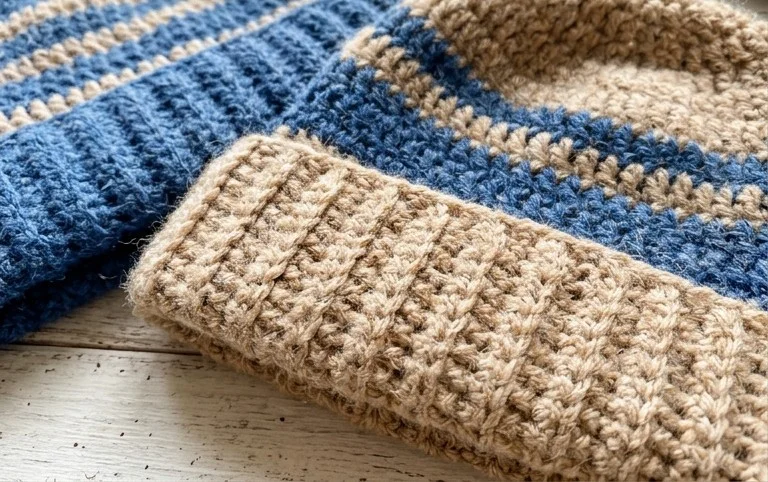
Finishing this hat provides a great sense of accomplishment when you pull the final thread through the top to close the crown. You can easily modify the look by alternating between two contrasting colors every four rows to create bold stripes or by using a variegated yarn for a subtle color shift. Please share a photo of your finished work on social media so others can see how your color choices turned out. Feel free to browse the rest of the blog for more patterns that require just one skein of yarn.