Easy Fingerless Gloves Crochet Pattern: Free Tutorial
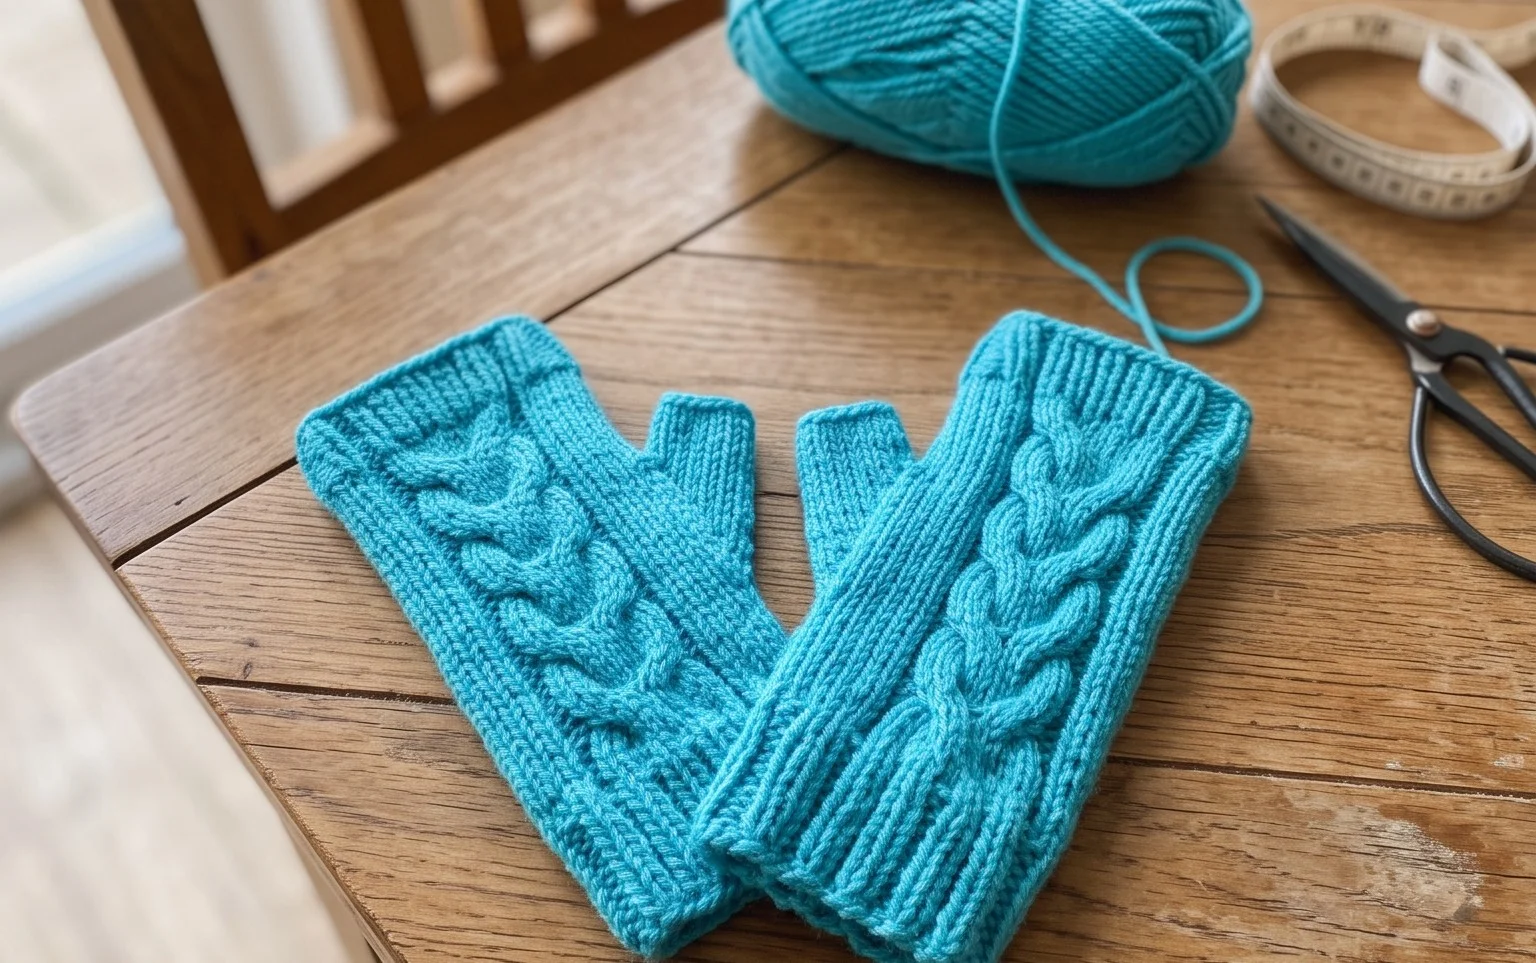
These fingerless gloves feature a tight, warm fabric that keeps your hands cozy while leaving your fingers free for tasks like typing or using your phone. The design creates a polished look with a simple ribbed texture that mimics traditional knitwear, making these an excellent choice if you want professional results without complex shaping. Beginners often find this project rewarding because it works up quickly in a single afternoon. You will learn to work in rows and create a seamless join that hides your stitches perfectly. It is a satisfying way to use up half a skein of leftover worsted yarn.
Why You’ll Love This Pattern
This crochet ribbed beanie pattern uses a simple two-row repeat that creates a dense, squishy fabric perfect for cold winter days. Because it is worked as a flat rectangle and then seamed, it is an ideal project for beginners who are not yet comfortable working in the round. The vertical ribbing provides natural stretch, ensuring a snug fit that stays securely on your head without feeling tight. You can complete this project in a single afternoon, making it a reliable choice for last-minute gifts or a quick seasonal wardrobe update.
I finished this hat in just a few hours. The ribbing looks professional and the tutorial made the seaming process very easy to understand.
— Sarah, hobbyist crocheter
Pattern Overview & Skill Level
- Skill Level: Beginner
- Approximate Time: 3 to 4 hours
- Construction: Worked flat in rows to create a rectangle, then seamed vertically and cinched at the top.
- Finished Dimensions: 9 inches wide by 11 inches tall (fits average adult head).
Materials & Supplies Needed
- Yarn: Worsted weight (#4), wool or acrylic blend, approximately 200 yards.
- Hook Size: 5.5 mm (US I-9).
- Notions: Tapestry needle, locking stitch markers, scissors, and a measuring tape.
- Safe yarn substitutions: You may use cotton yarn, but be aware that it lacks the natural elasticity of wool or acrylic, which may result in a slightly less snug fit. Choosing a wool blend will maintain the best shape retention.
Stitch Guide & Abbreviations (US Terms)
- ch = chain
- st = stitch
- sl st = slip stitch
- BLO = back loop only (insert hook under the back loop of the V-shape of the stitch)
- hdc = half double crochet
- hdc-blo = half double crochet in the back loop only
Step-by-Step Pattern Instructions
Hat Body
- Row 1: Ch 41. Hdc in the 3rd ch from the hook and each ch across. (39 sts)
- Row 2: Ch 2 (does not count as st), turn. Hdc-blo in each st across. (39 sts)
- Rows 3–50: Repeat Row 2 until the piece measures approximately 18 inches in length when slightly stretched. (39 sts)
- Finishing: Fasten off, leaving a 20-inch yarn tail for seaming.
Assembly
- Fold the rectangle in half so that the short ends meet.
- Using the tapestry needle and the long yarn tail, sew the two short ends together using a whip stitch or mattress stitch.
- Weave the needle in and out along the top edge of the tube.
- Pull the yarn tail tightly to close the top of the hat, securing it with a few extra stitches through the center.
- Turn the hat right side out and weave in all remaining loose ends.
Care & Washing Instructions
- Hand wash in cool water using a gentle wool-safe detergent to preserve fiber integrity.
- Lay the hat flat on a clean towel to air dry, reshaping it while damp to ensure it retains its original dimensions.
- Do not hang the hat while wet, as the weight of the water can cause the fabric to stretch out of shape.
Pro Tips & Common Mistakes to Avoid
- Keep your tension loose, especially on the slip stitches at the beginning of rows, to ensure the edges remain straight and not puckered.
- Place a stitch marker in the first and last stitch of every row to ensure you do not accidentally drop stitches, as this will cause your rectangle to become a trapezoid.
- Weave your ends into the inside of the ribbing rather than across the surface, as this hides the tail completely within the dense texture.
- If you wish to make the hat shorter or taller, simply change the starting chain count. Adjusting the length will change the amount of yarn required by approximately 5 yards per inch.
Frequently Asked Questions
Can I use a larger hook for this pattern?
Using a larger hook will make the fabric drapier and larger, but it may lead to gaps between stitches. I recommend sticking to the 5.5 mm hook to maintain the warmth and structure of the ribbing.
Is this pattern suitable for complete beginners?
Yes, this is an excellent first project. It uses only one main stitch, the half double crochet, and requires no complicated shaping or increases.
Can I sell the hats I make from this pattern?
You are welcome to sell finished items made from this pattern, provided you credit the design and use your own photographs for your listings.
How do I adjust the size for a child?
To size down for a child, reduce the starting chain to 35 and work fewer rows until the piece wraps comfortably around their head. The construction method remains exactly the same.
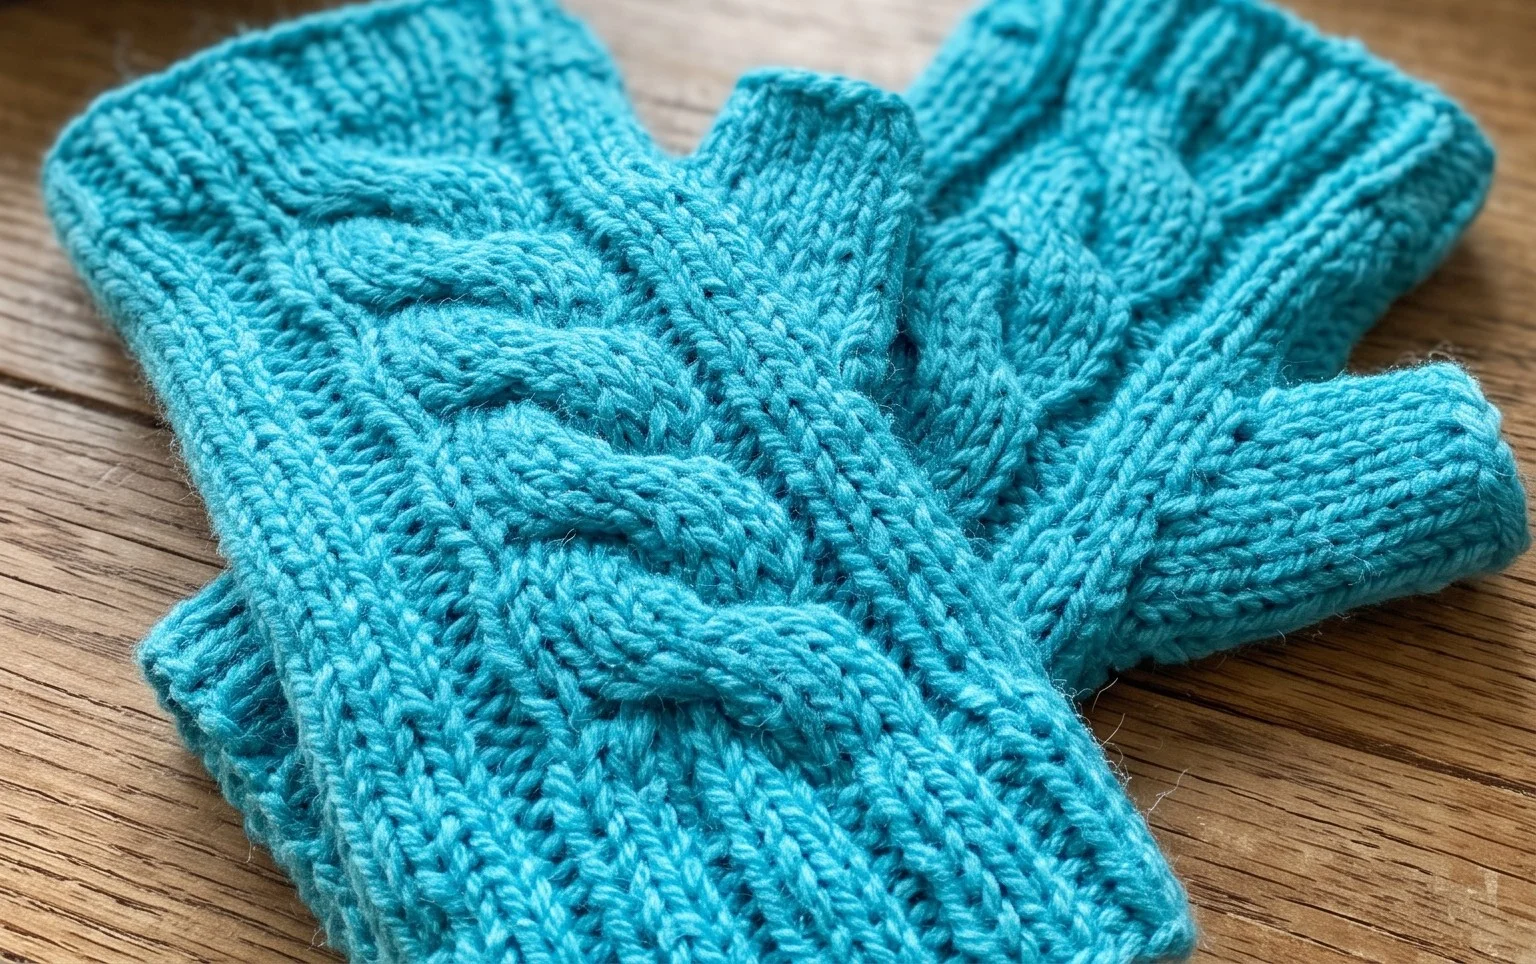
Your new handmade gloves provide warmth and style for chilly morning walks or drafty office spaces. If you prefer a longer look, simply add extra rows during the main body section to extend the cuff toward your elbow. Changing to a variegated yarn adds visual depth to the ribs without extra work. Please share a picture of your finished work on social media so others can see your color choices. You can find more free patterns for handmade accessories and home projects throughout the rest of this blog.