Easy Ribbed Beanie Crochet Pattern: Step-by-Step Guide
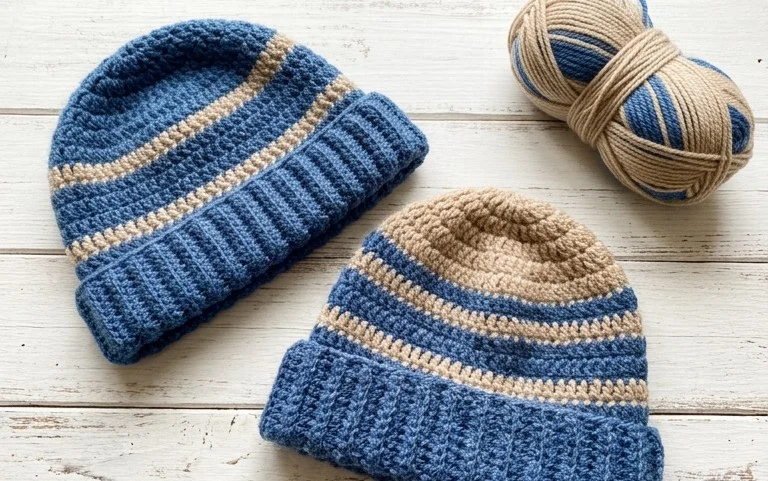
This dense, squishy beanie keeps you warm during sudden winter chills because of its thick wool construction. It works up as a flat rectangle, which avoids the frustration of complicated circular decreases or joining rounds that often make hats look lumpy and misshapen. Beginners will appreciate how the simple two-row repeat builds a professional, store-bought finish that fits snugly on any head size. You will learn to use vertical ribbing to create a clean aesthetic that avoids common bulky silhouettes. This project is a quick way to practice tension control while producing a reliable, everyday wardrobe staple.
Why You’ll Love This Pattern
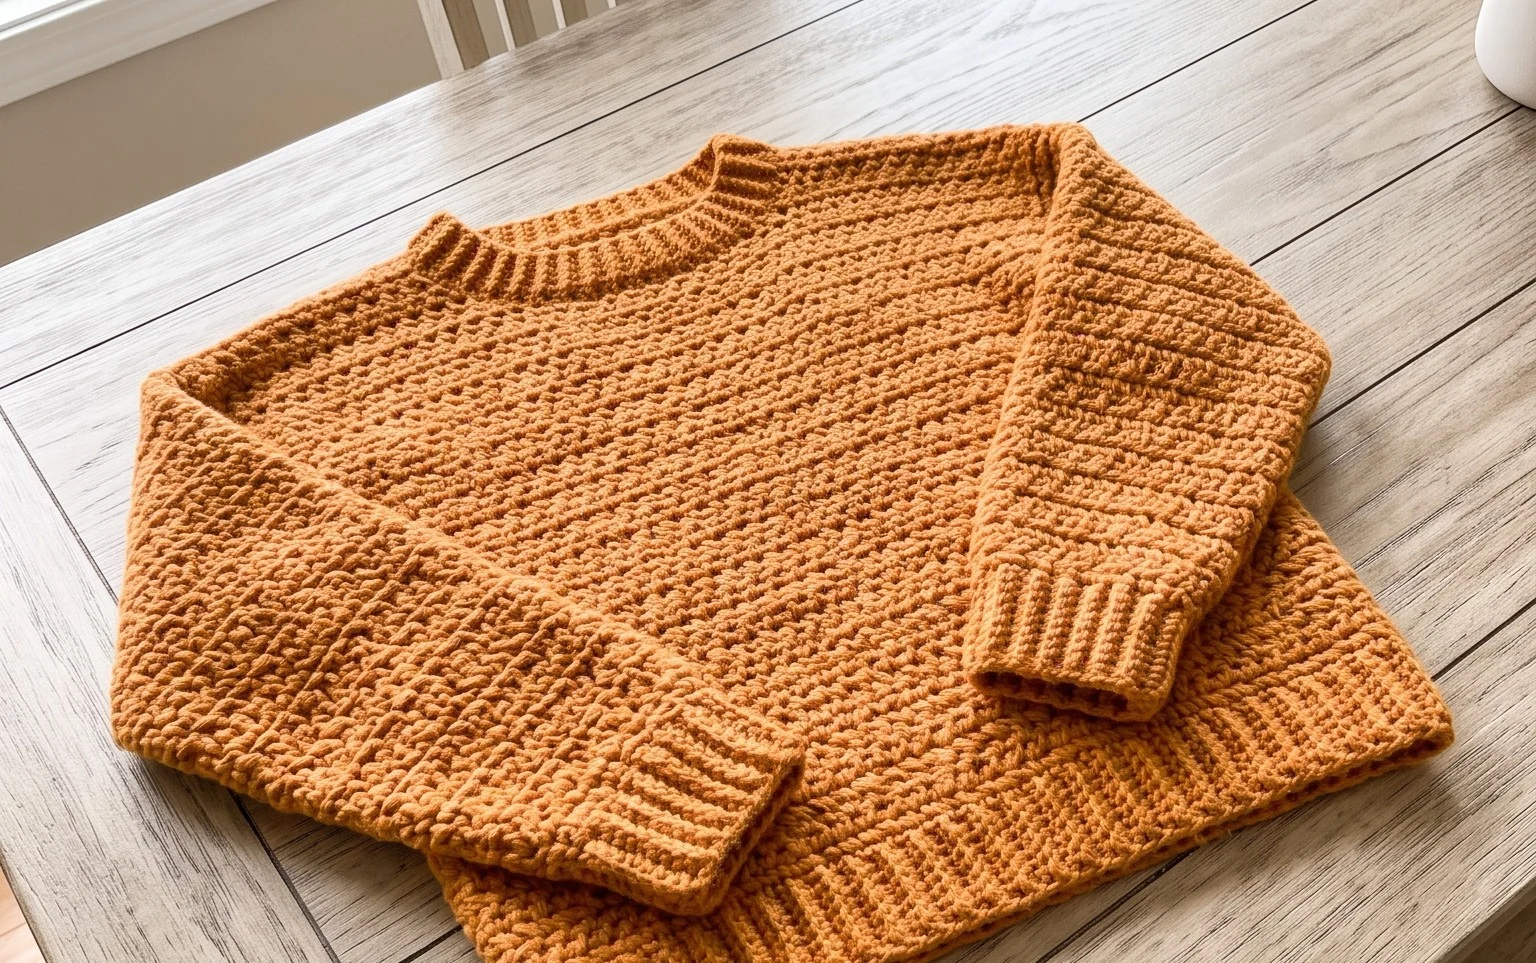
This crochet ribbed beanie pattern uses a simple two-row repeat that creates a dense, squishy fabric perfect for cold weather. Because it is worked as a flat rectangle and then seamed, you do not need to worry about complex crown decreases or joining rounds. The vertical ribbing provides a professional, store-bought look that stretches comfortably to fit most adult head sizes. It works up quickly in a single evening, making it an ideal choice for last-minute handmade gifts or charity donations.
I managed to finish this hat in one sitting while watching a movie. The texture is so soft and thick, and the pattern was very easy to follow even for a newer crocheter.
— Sarah, hobbyist crafter
Pattern Overview & Skill Level
- Skill Level: Beginner
- Approximate Time: 3 to 5 hours
- Construction: Worked flat in rows to create a rectangle, then seamed along the side and cinched at the top
- Finished Dimensions: Approximately 9 inches tall by 18 inches circumference (unstretched)
Materials & Supplies Needed
- Yarn: Worsted weight (#4), wool or acrylic blend, approximately 200 yards.
- Hook Size: 5.0 mm (H-8).
- Notions: Large-eye tapestry needle, locking stitch markers, and scissors.
- Yarn Substitutions: You can use a cotton blend, but note that it will be heavier and less stretchy than wool or acrylic. If using a DK weight yarn, increase your starting chain length to match the desired height and work more rows to achieve the target circumference.
Stitch Guide & Abbreviations (US Terms)
- ch: Chain
- st: Stitch
- sl st: Slip stitch
- BLO: Back loop only. This technique creates the ribbed effect by inserting the hook only into the back loop of the stitch from the previous row.
- sc: Single crochet
Step-by-Step Pattern Instructions
Hat Body
The hat is worked in rows to create the height of the brim and body simultaneously. You will work back and forth, leaving the last stitch of every row unworked or working into it carefully to keep edges straight.
- Row 1: Ch 36. Starting in the second ch from the hook, work 1 sl st in each ch across. Ch 1, turn. (35 sts)
- Row 2: Work 1 sl st in the BLO of each st across. Ch 1, turn. (35 sts)
- Rows 3-60: Repeat Row 2 until the piece measures approximately 18 inches when slightly stretched. Ensure you end on an even-numbered row so the yarn tail for seaming is at the bottom edge.
Assembly and Finishing
Once you reach the desired length, fasten off leaving an 18-inch yarn tail for sewing. Fold the rectangle in half so the short edges meet. Using your tapestry needle and the long tail, use a whip stitch to join the two sides together, creating a tube.
- Cinched Top: After seaming the side, weave the yarn tail in and out through the stitches along one of the open ends of the tube. Pull the yarn tight to gather the fabric and close the opening completely.
- Securing: Secure the tail with a knot on the inside of the hat and weave in your ends. Turn the hat right side out. If you prefer a folded brim, simply pull the edge up about two inches.
Care & Washing Instructions
- Hand wash in cool water using a gentle wool-safe detergent to maintain fiber elasticity.
- Lay the hat flat on a clean towel to air dry, avoiding direct heat or sunlight that might shrink the material.
- If the hat loses its shape over time, lightly steam it or dampen it and reshape it while wet before letting it dry completely.
Pro Tips & Common Mistakes to Avoid
- Maintain consistent tension, especially with slip stitches, as they have a tendency to become too tight, making the next row difficult to work.
- Place a stitch marker in the first and last stitch of every row if you struggle to identify the ends; this prevents the rectangular shape from accidentally turning into a trapezoid.
- When weaving in ends, follow the path of the yarn stitches rather than pulling the thread through the middle of the fabric to ensure the finish remains invisible.
- To adjust the size, simply add or remove chains at the start to change the height, or add/remove rows to change the head circumference; adding 4 rows adds about 1 inch to the total circumference.
Frequently Asked Questions
Can I use a larger hook size for this pattern?
Using a larger hook will result in a drapier, looser fabric. While this works, it will make the hat less wind-resistant and potentially larger than the stated dimensions.
Is this pattern suitable for complete beginners?
Yes, this is an excellent starter project because it only uses the slip stitch and relies on simple flat rows, removing the need to manage circular tension.
Can I sell the hats I make from this pattern?
Please check the original source terms for commercial usage. Generally, items made from patterns may be sold by individual makers, but mass production is typically prohibited.
What if my hat turns out too small?
If the hat is tight, check your gauge. If you find your slip stitches are very dense, try relaxing your tension or going up a half-millimeter in hook size to add more stretch to the fabric.
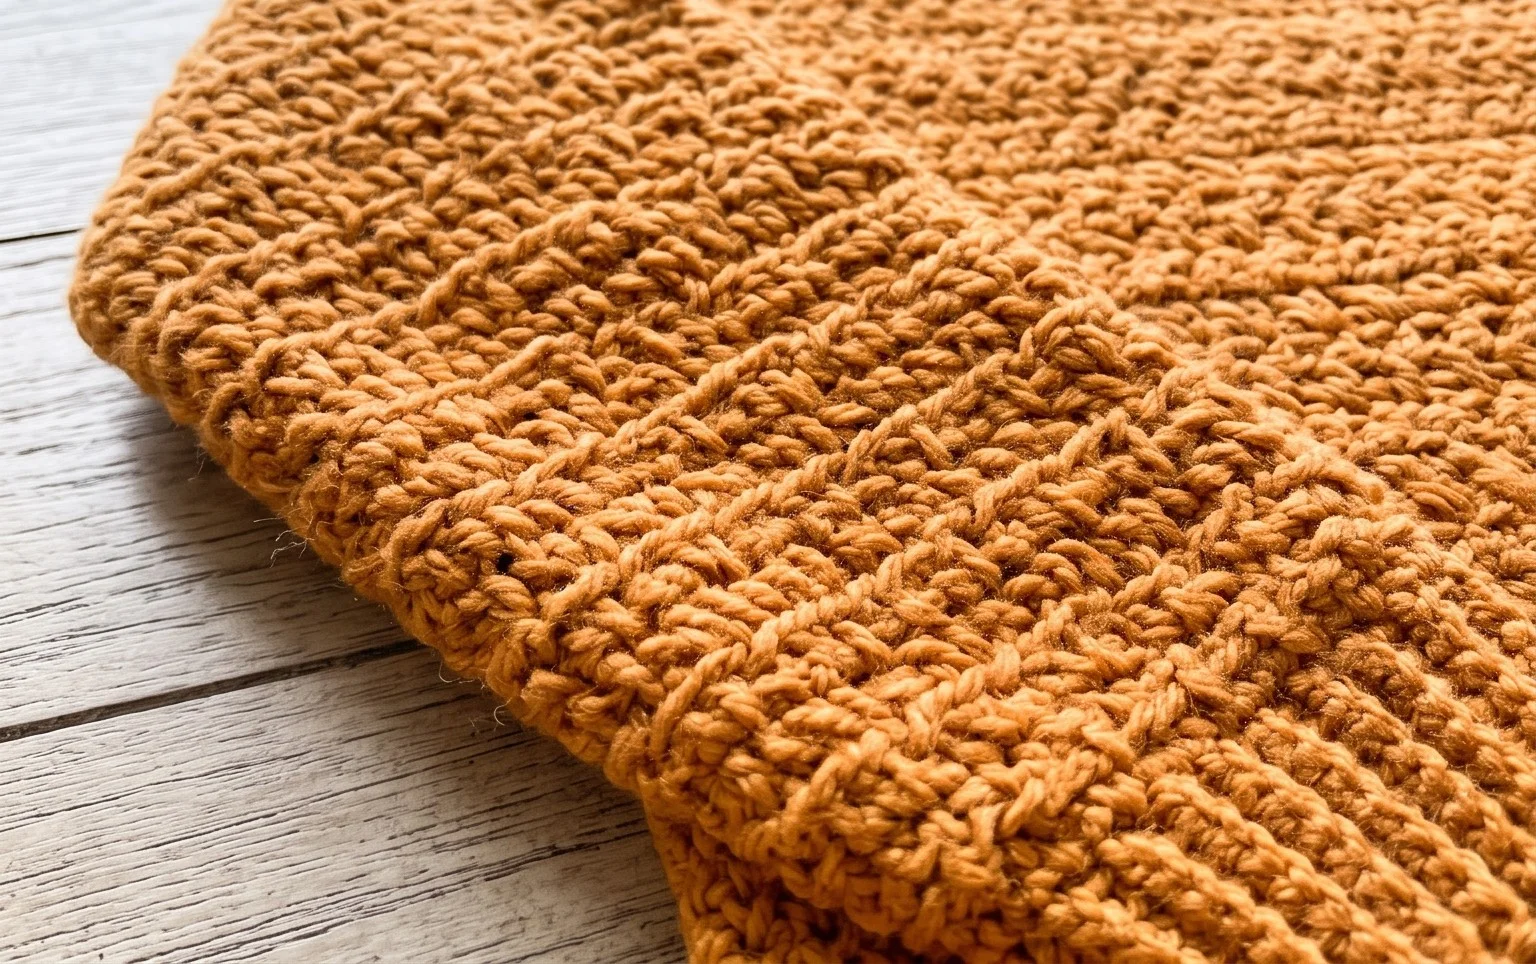
Your finished hat provides a snug, professional fit that frames the face without adding unnecessary bulk to your daily winter outfits. Try working this in a variegated wool yarn if you want a subtle color shift, or add a large faux-fur pompom to the top for a more playful look. Post a photo of your finished work on social media so others can see your color choices. You can find more free patterns and seasonal projects in the archive section of this blog.